I was always so intimidated by having to hang a collection of pictures but I always wanted them all over my house. So I did it, and now I will add to all of those tutorials out there by telling you how I hung my wall gallery.
Step 1:
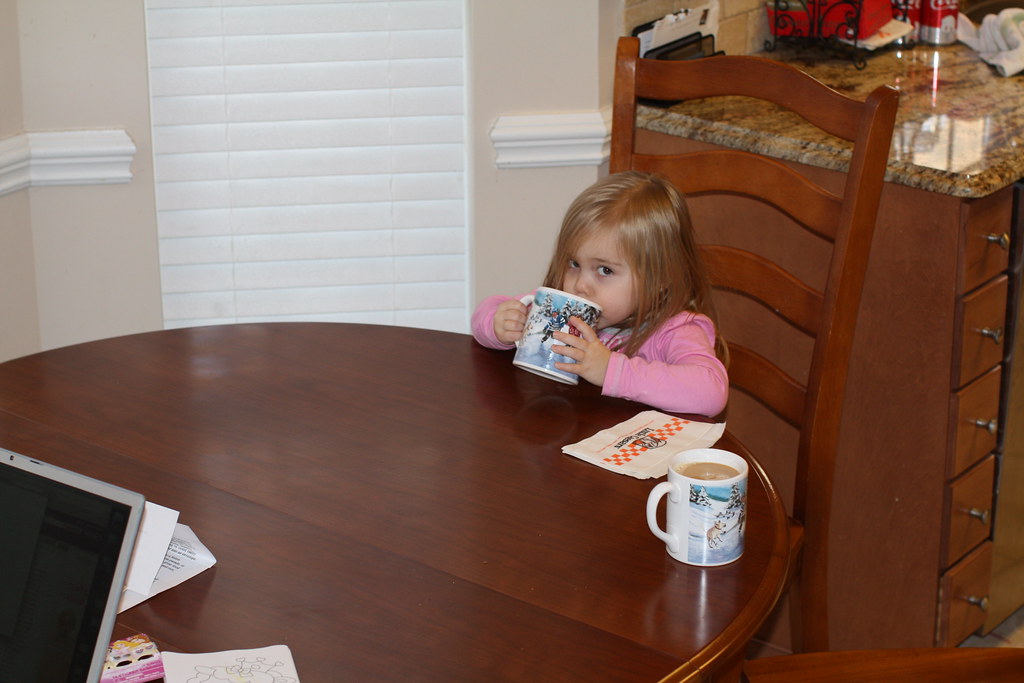
Brainstorm all of the possible layouts over a cup of coffee, or in my case a cup of hot chocolate with a 3 year old. Think about whether you want it to be a symmetrical layout or an asymmetrical layout. What size area do you need it to fill?
Step 2:
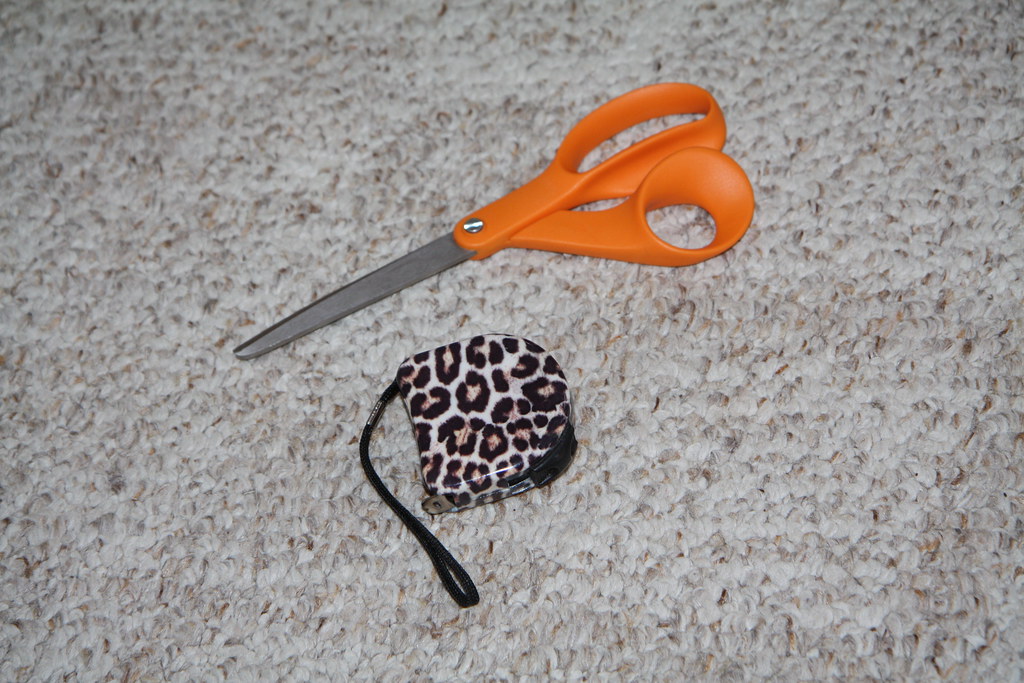
Grab a piece of butcher paper or wrapping paper, scissors, and your snazziest measuring tape.
Oh, and a 3 year old critic if you happen to have one. I had one on hand, so ....
Notice the hot chocolate still around her lips
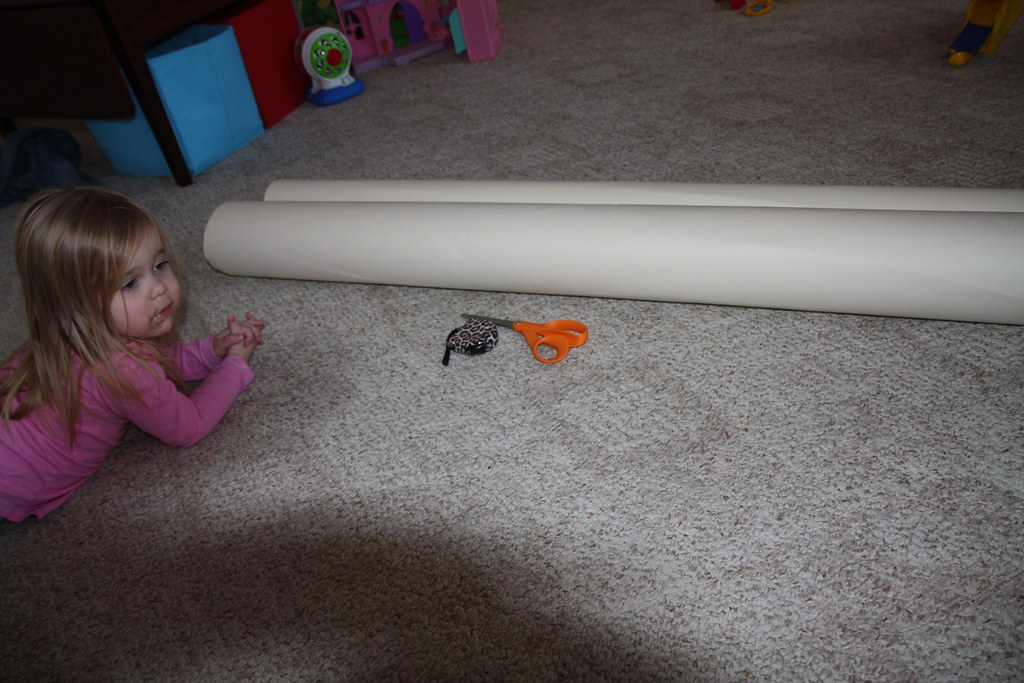
Move all of the toys to the edges of the room so you can have some space to work. What? You don't have to do that!?! Huh, what am I doing wrong here?
Anyways, cut your paper to the size of the area that you are going to hang your gallery. Grab all of the things you want to include in your gallery and begin playing around with different designs.

When designing an asymmetrical gallery, be sure your layout is anchored with a straight line. In mine, I made a straight horizontal line toward the bottom. This creates some organization to what otherwise could just be jumbled chaos.
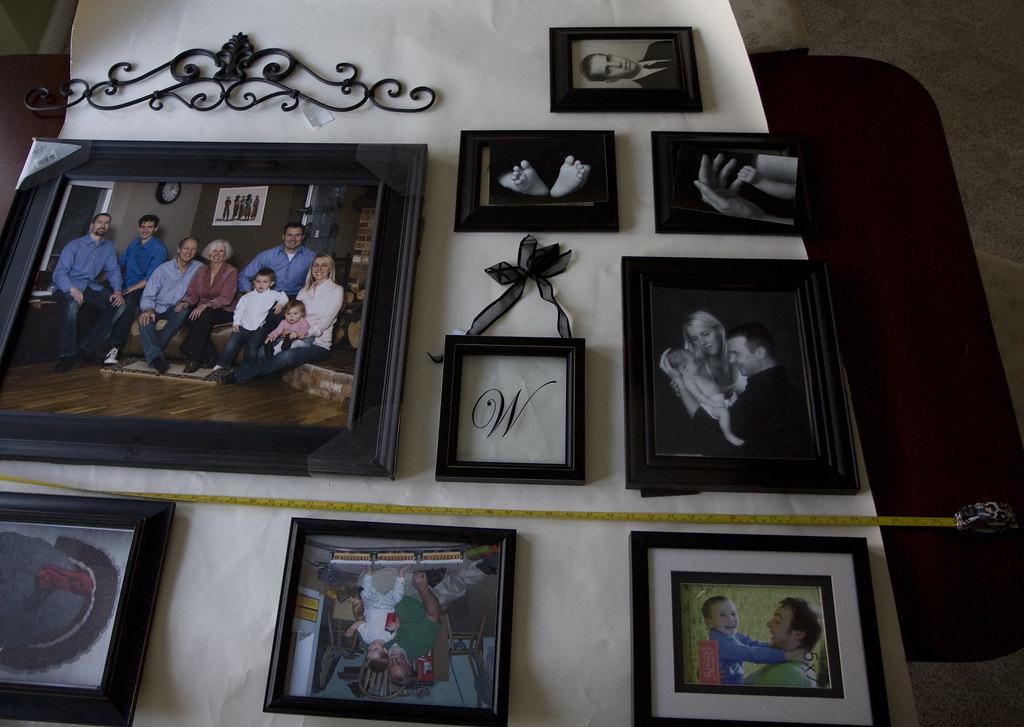
I knew what frames I wanted and what pictures I wanted in them, I just needed to have the pictures printed, so not all of my frames were ready, obviously. But I knew about what the finished product would look like.
Tape a few pieces of parchment paper together to create a translucent piece as big as your other paper.
Then flip over all of the frames and put the parchment paper over the layout. Mark the where the hanging hooks are on this paper. Sorry, I don't have pictures of this part.
Step 3:
Hang both pieces of paper up on the wall where you want your gallery. Now you can use a nail to make pilot holes in the wall for your gallery. Don't forget to adjust your holes where you're using hooks.
Take the paper down and put your nails up.
Step 4:
Hang your gallery.
Step 5:
Grab a glass of wine (or sweet tea) and sit back and enjoy a job well done!
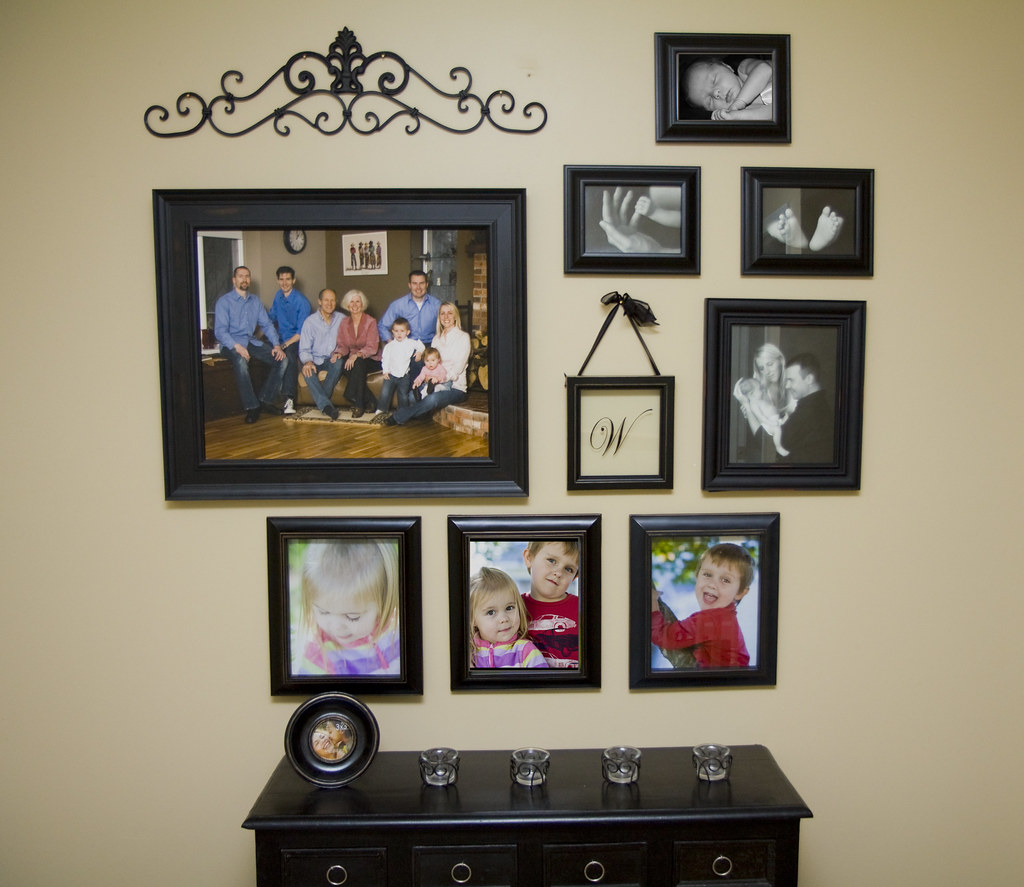
Obviously, I don't mind mixing color with black and white. It's a subjective thing. It's just not in my personality to always be symmetrical or follow the rules, but for some this looks pretty crazy I would bet.
On this occasion I used all black frames, but I also like galleries where frames are really mixed. They need to compliment each other, but you can mix wood with metal too.
*** Thank you to Rose Photography for taking our newborn photos and to Peter Northcott for taking the family portrait.
No comments:
Post a Comment